Electrolysis Rust Removal
Guide and instructions from:
rickswoodshopcreations.com/Miscellaneous/Rust_Removal.htm
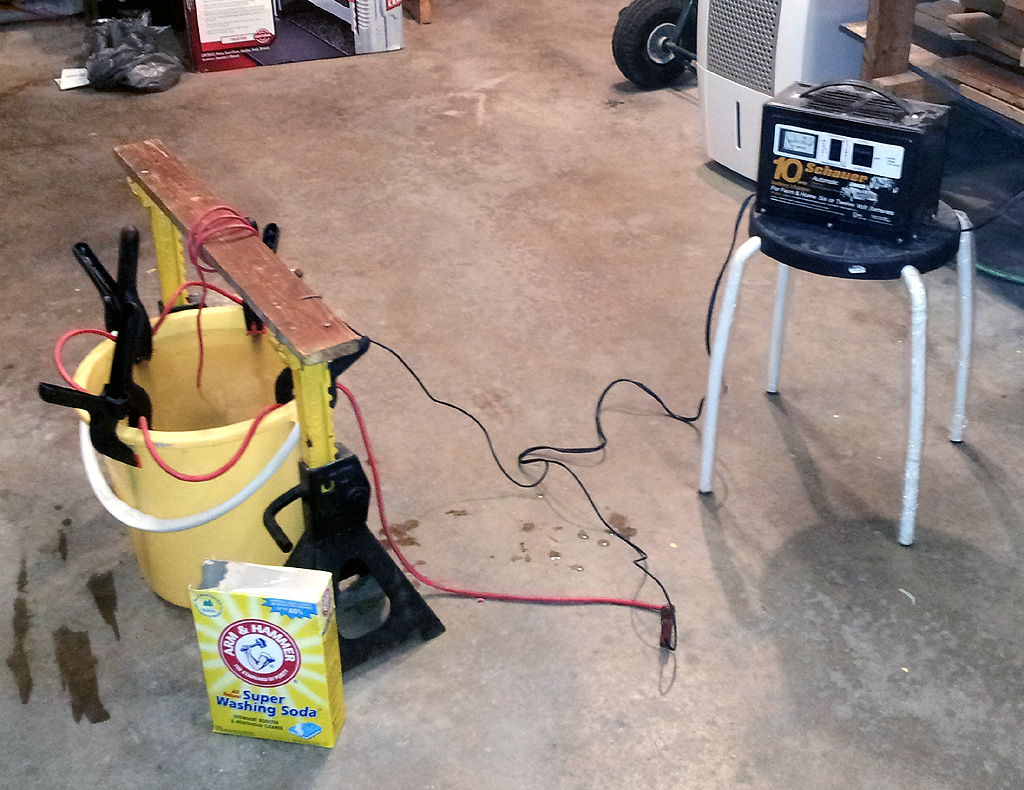
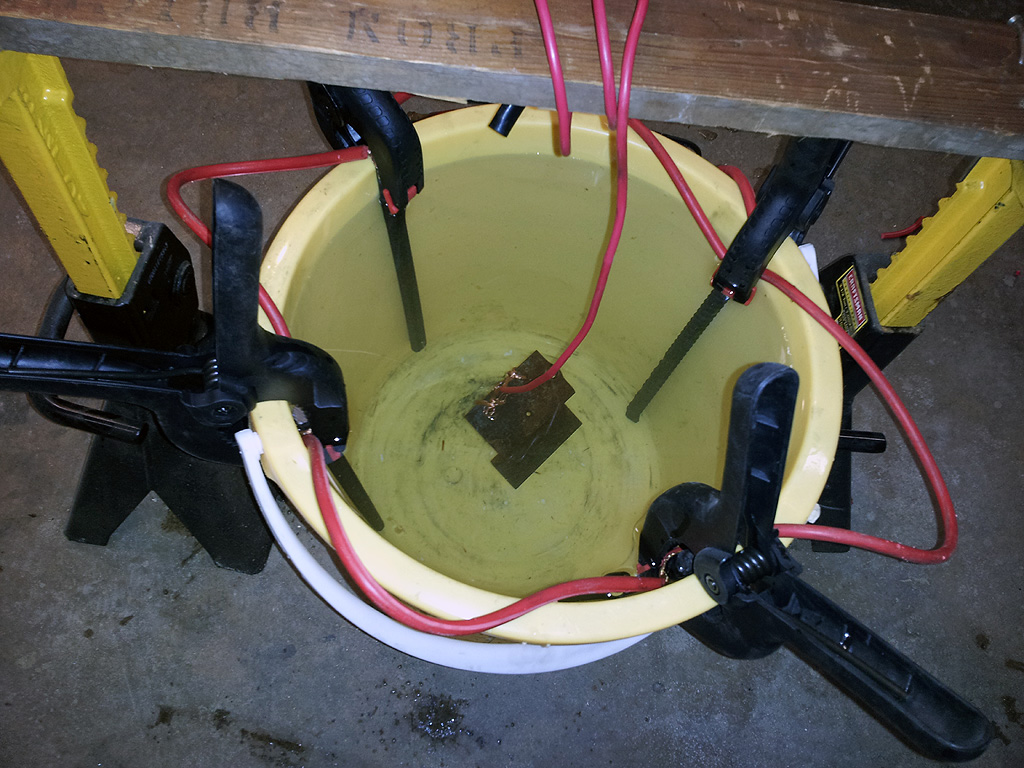
The rig before any electrolysis has been performed.
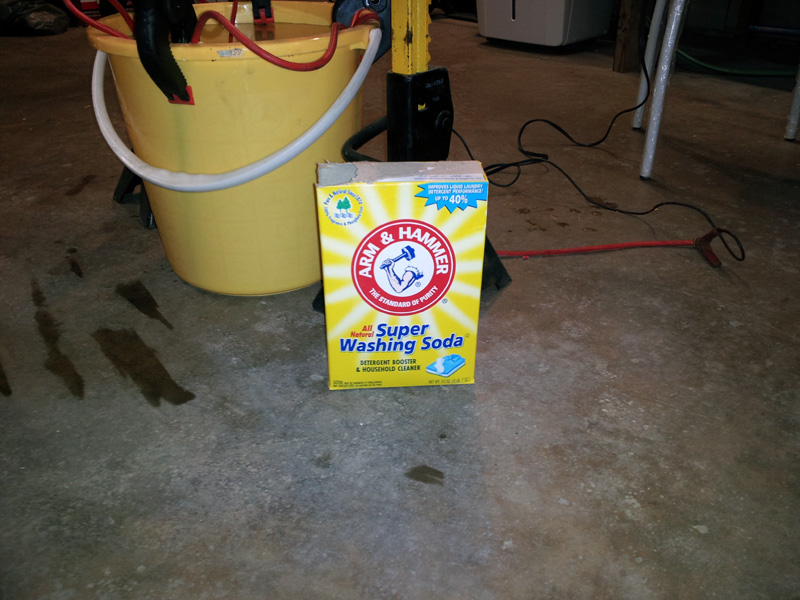
Five gallon plastic bucket
filled with water and 5 tablespoons of sodium carbonate dissolved.
Four pieces of rebar connected by heavy-gauge wire, connected to positive lead
of battery charger.
Piece to be de-rusted suspended from platform by heavy-gauge wire and connected
to negative lead from battery charger.
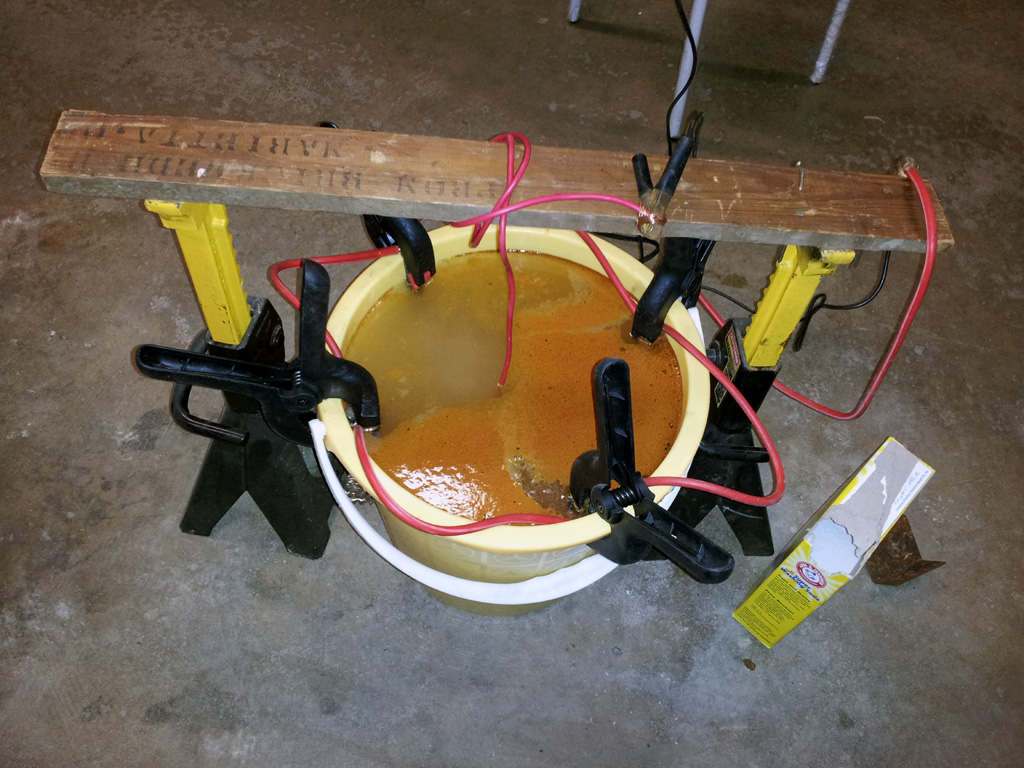
Resultant sludge after two hours of the angle iron below.
![]()
![]()
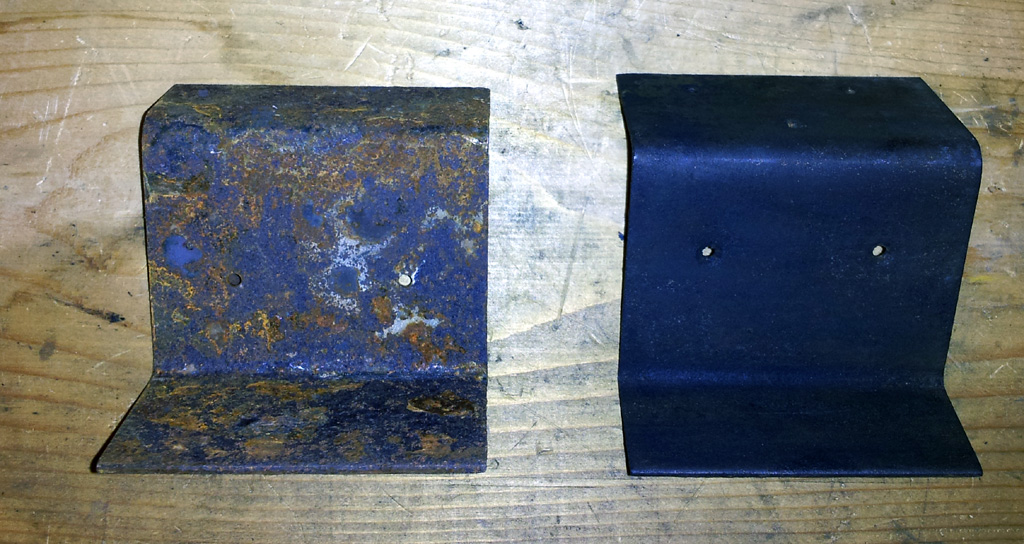
My first test piece, a completely rusted piece of angle iron.
The "after" piece on the right
was just as bad as the "before" piece on the left. 100% better.
No sanding, grinding or polishing was performed.
Pulled it out of the vat and dried it off and that's how good it looks.
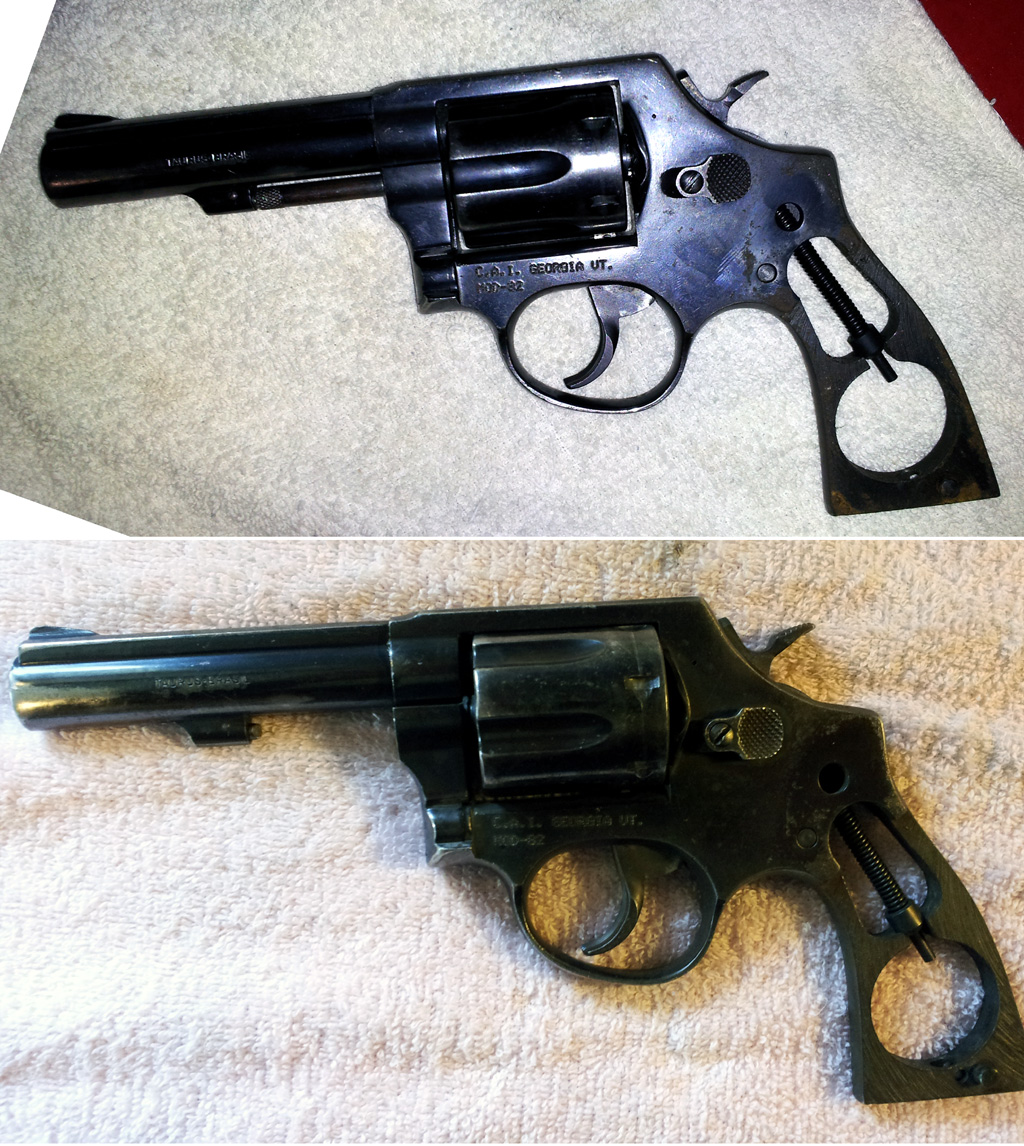

And the reason I built this rig in the first place:
Before and afters of an old
beat-up Taurus Model 82 .38 Special.
The photos don't really show the results, but there is indeed a difference.
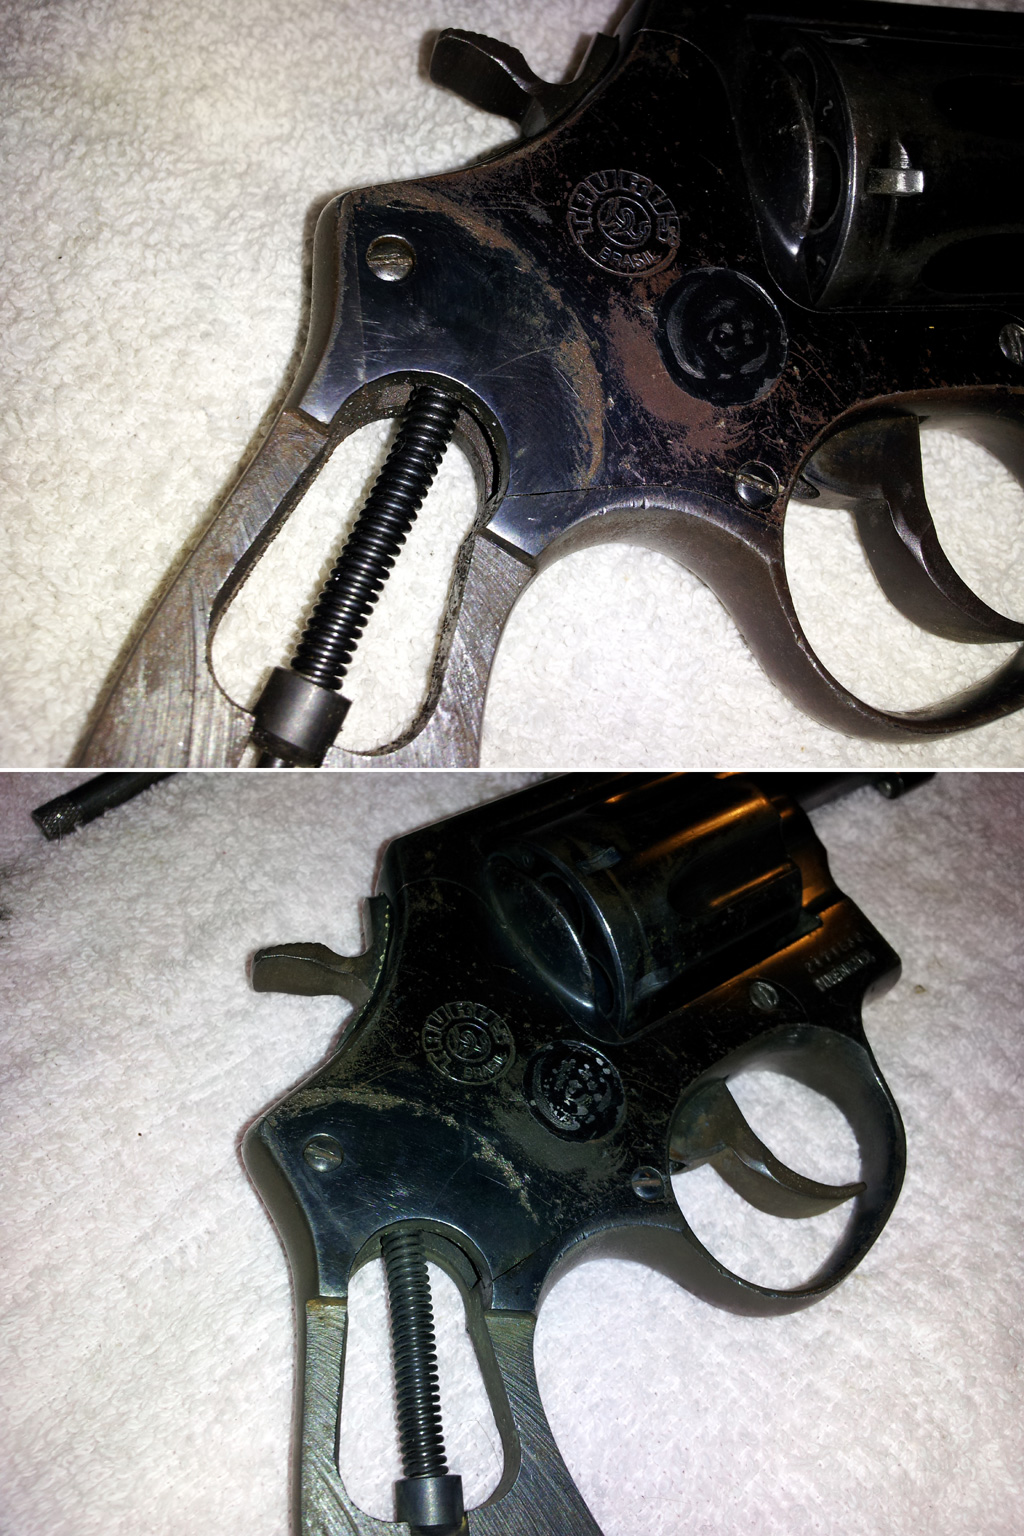
As far as the photos are
concerned, the biggest areas of improvement
are the curved edges below the hammer (where moisture rom the
edges of the wooden stock attacked the metal,I'm guessing)
and also both of the very bottom corners of the the square butt.
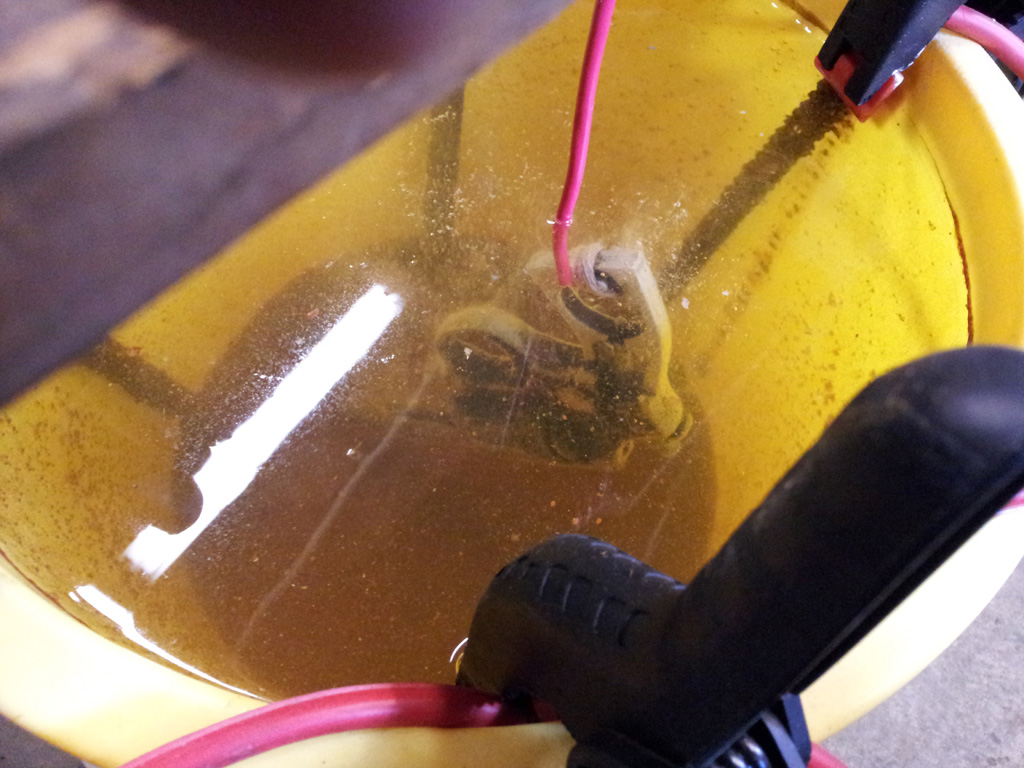
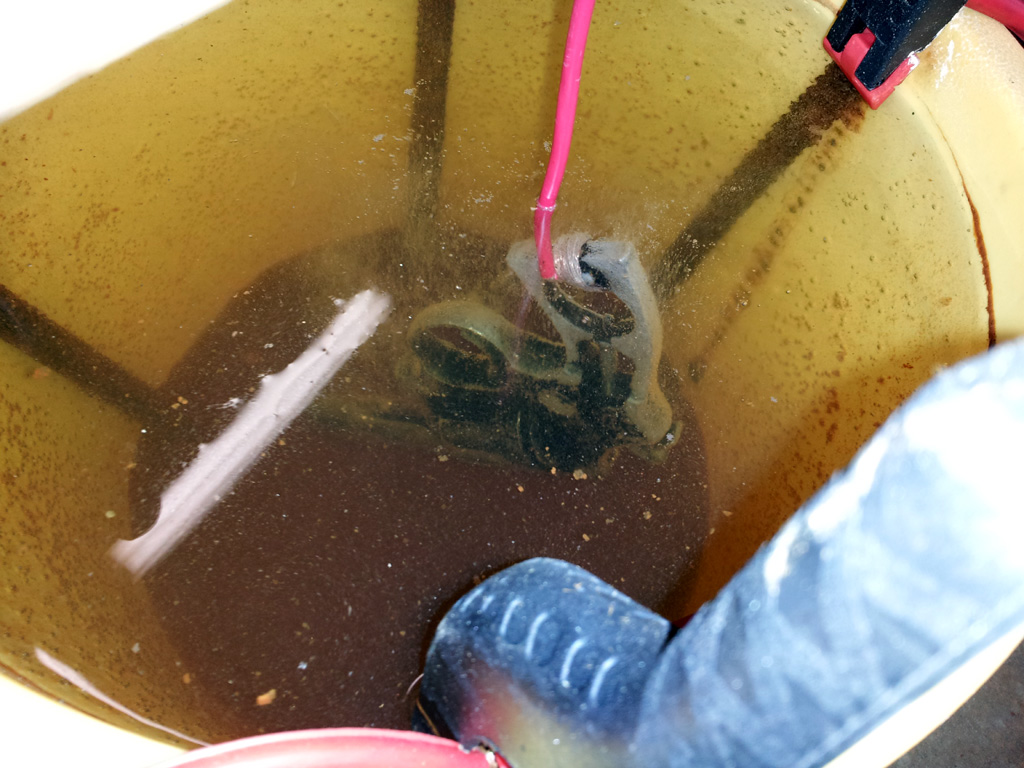
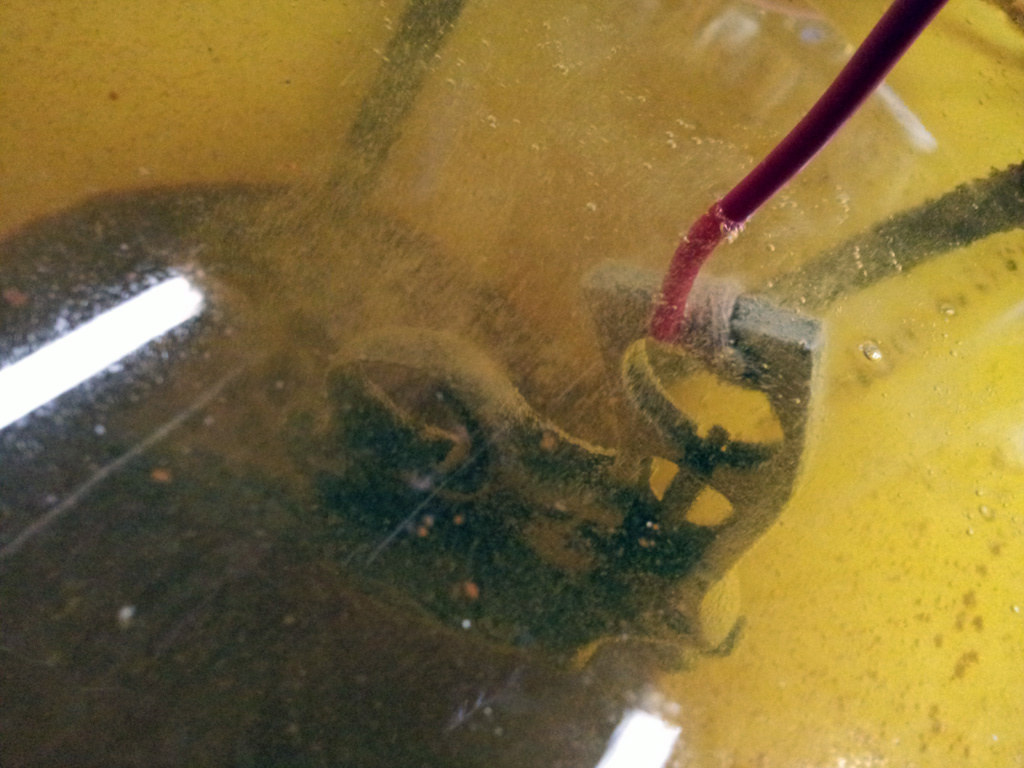
(video)
Photos and video of the effervescent action in the vat.
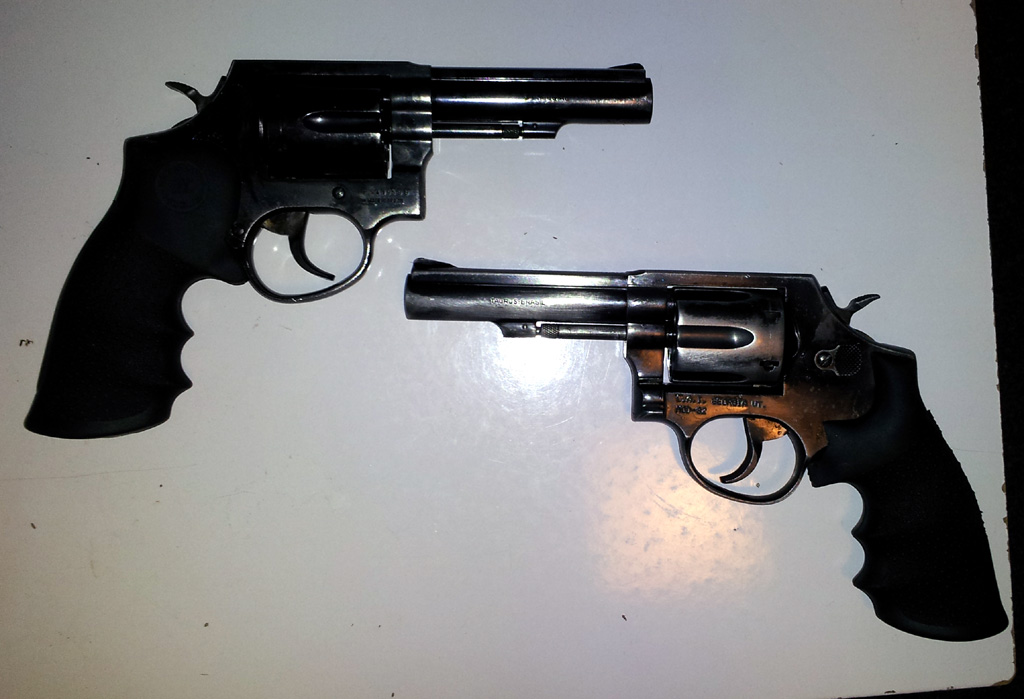
Both after electrolysis,
cleaning and oiling. Again,
you can't really see a magical difference with the revolvers
because they weren't that bad to begin with.